Add and Remove Users in Your Workspace
Background & Purpose
How to add new users, team members, or third-party professionals to your GoHighLevel workspace, and how to remove them when needed. This keeps your team flexible and secure during deployments or collaborations.
Step-by-Step Process:
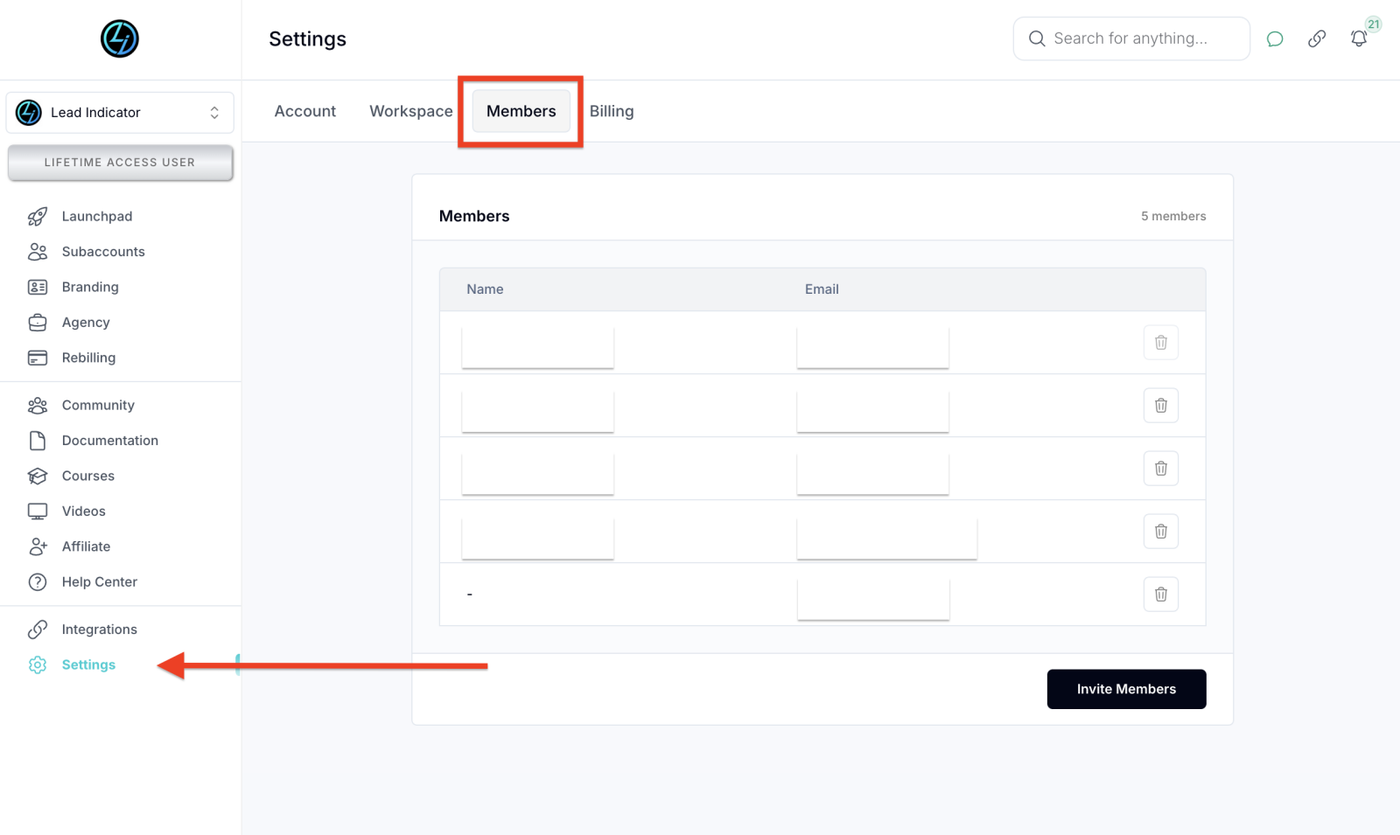
1. Access the Members Section
-
From your main workspace, go to Settings > Members.
-
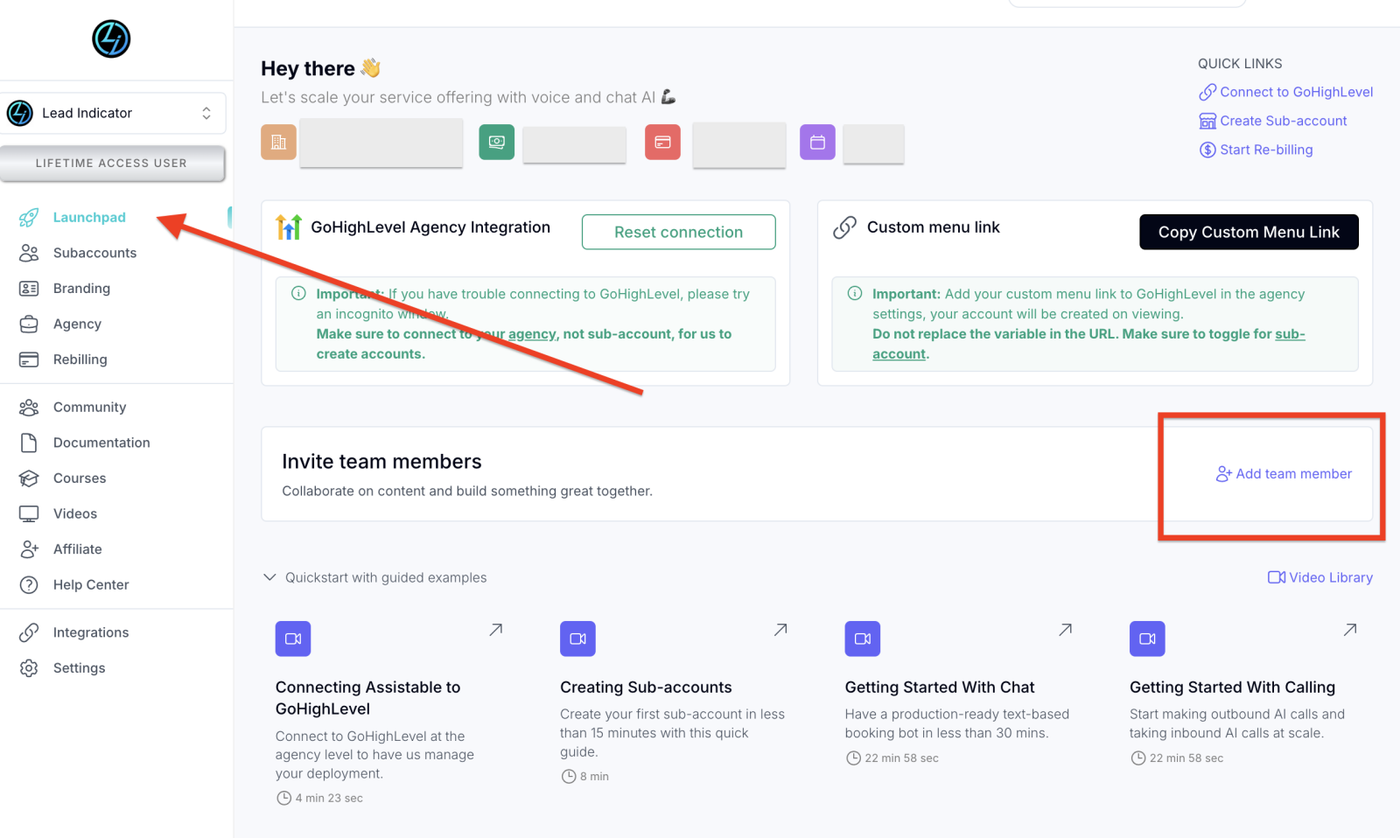
If you're using the Launchpad, you can also click “Add Team Member”.
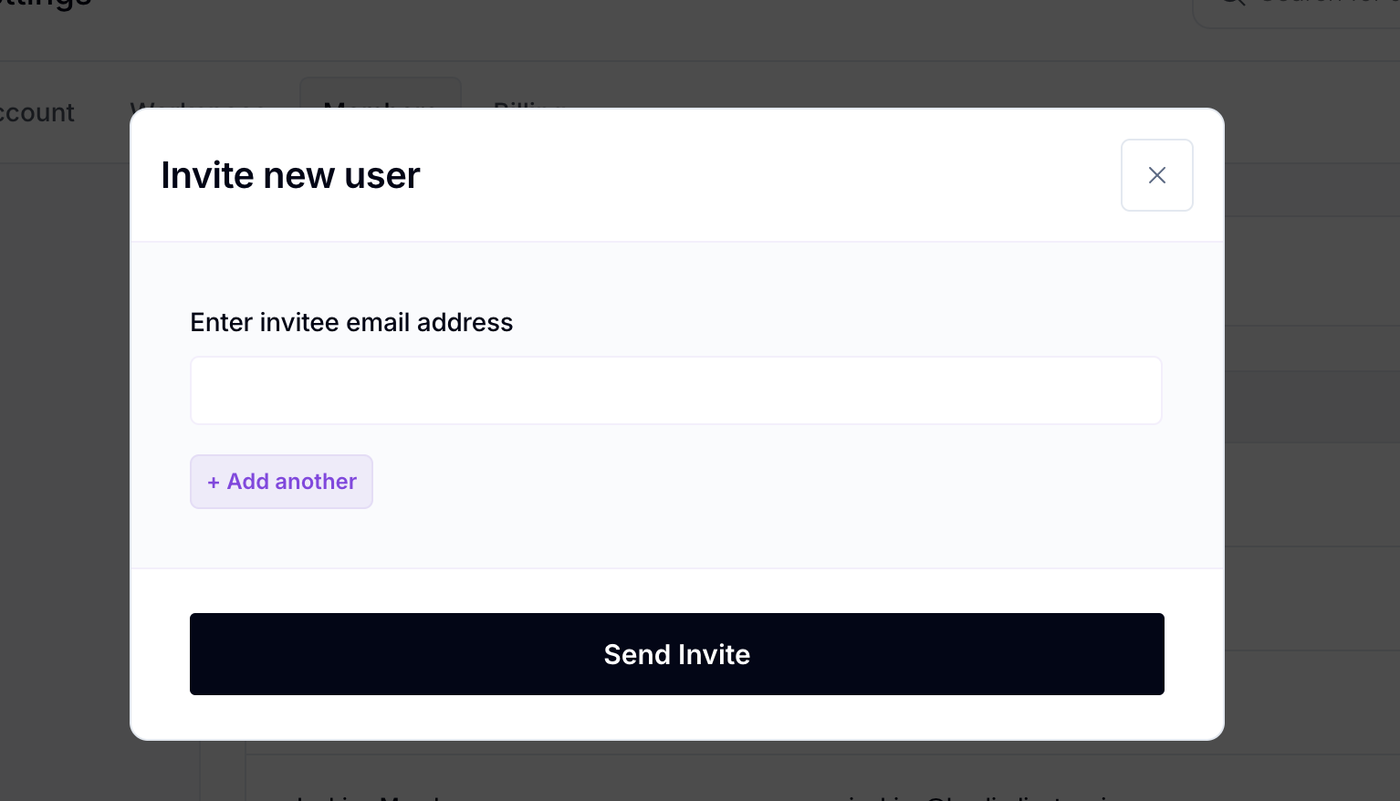
2. Invite a New Member
-
Click “Invite Member”
-
Enter the user's email address.
-
Click Send Invite.
✅ If the email isn’t associated with a GoHighLevel account, the system will automatically create one and send a password reset link to the user.
✅ The user will receive an email saying they've been added to your workspace.
3. Remove a Member (If Needed)
-
Still in Settings > Members, find the user you want to remove.
-
Click the “Remove” button next to their name "Trash Icon".
-
That user will be immediately removed and will no longer have access to your workspace.
FAQs
Q: What if the invited user doesn’t have a GoHighLevel account?
A: One will be created automatically. They'll get a password reset email.
Q: Do users get notified when they’re removed?
A: No, but their access is revoked instantly.
Q: Can I invite multiple users at once?
A: No, each user must be invited individually using their email.