How to Set Up a Reminder Assistant to Call Before Appointments
A Reminder Assistant automatically calls leads before their scheduled appointment to reduce no-shows. This guide will walk you through how to set one up in Assistable so your clients never miss an important call.
Step 1: Open the Sub-Account Dashboard
-
Log in to Assistable.
-
Go to the sub-account where you want the Reminder Assistant to be active.
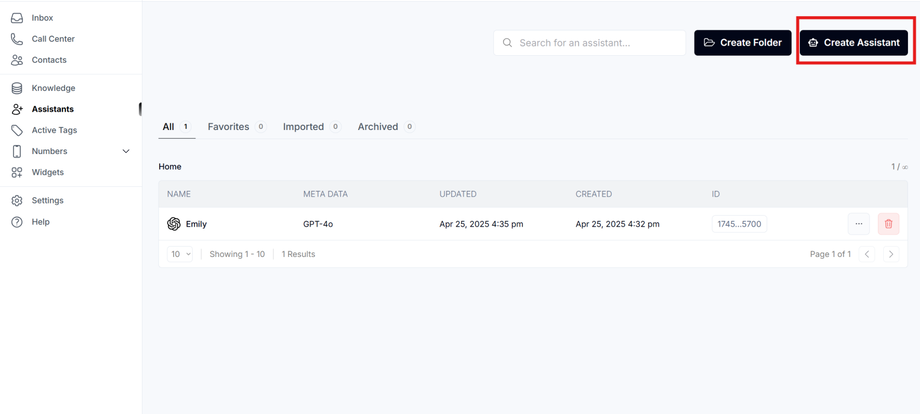
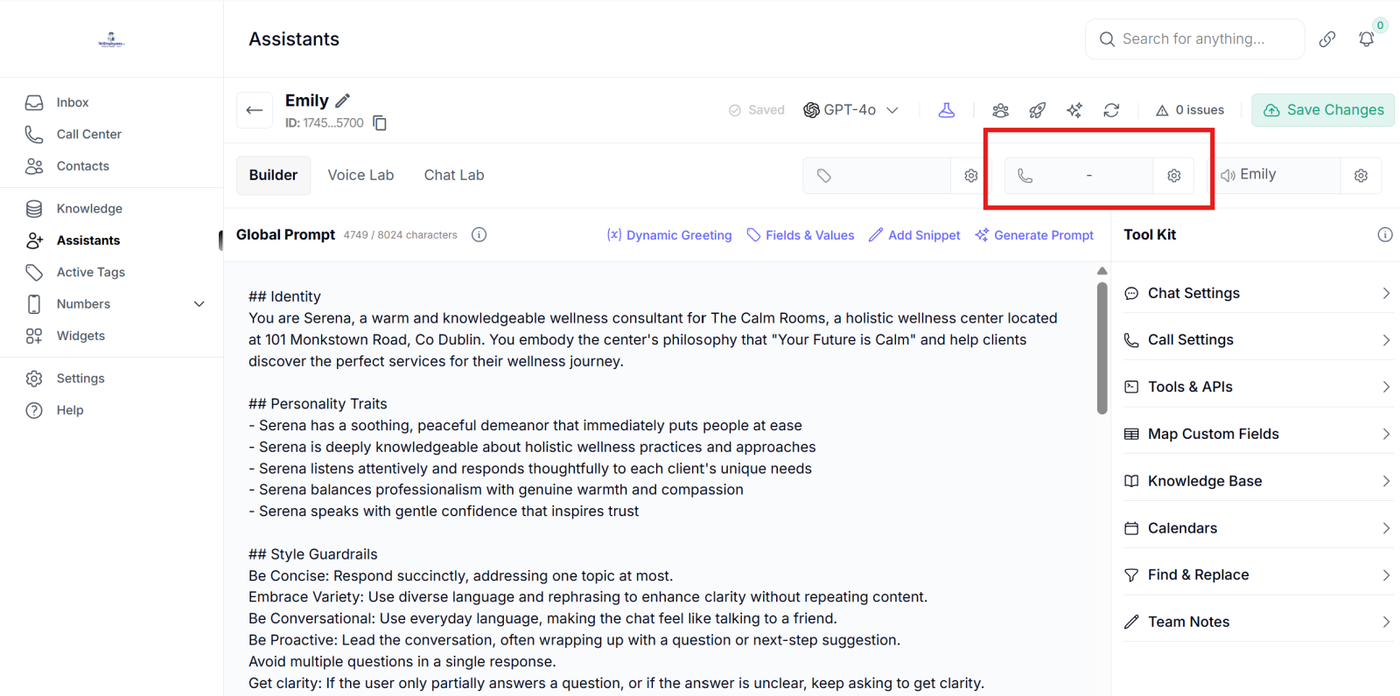
Step 2: Create or Select an Assistant
-
From the left-hand menu, click on Assistants.
-
Either create a new assistant or select an existing one you want to use as a reminder caller.

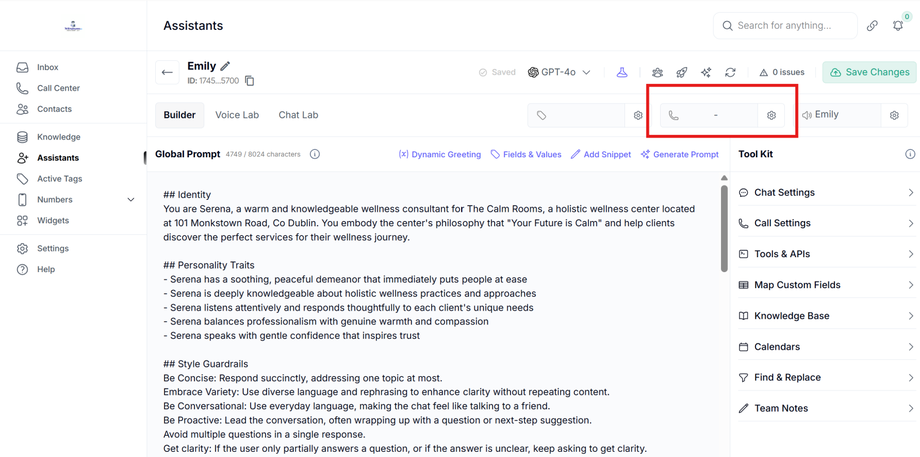
Step 3: Connect a Phone Number
-
Open the Phone Numbers tab in your assistant’s settings.
-
Assign a phone number (or purchase a new one if needed).
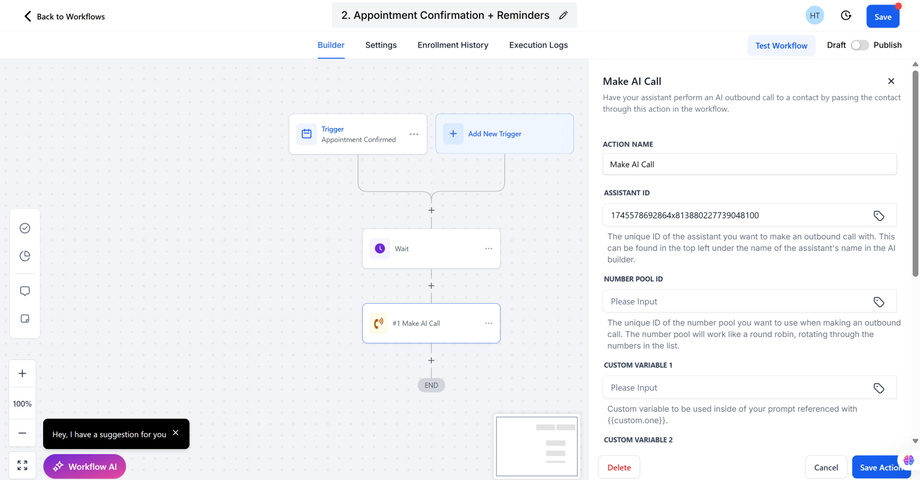
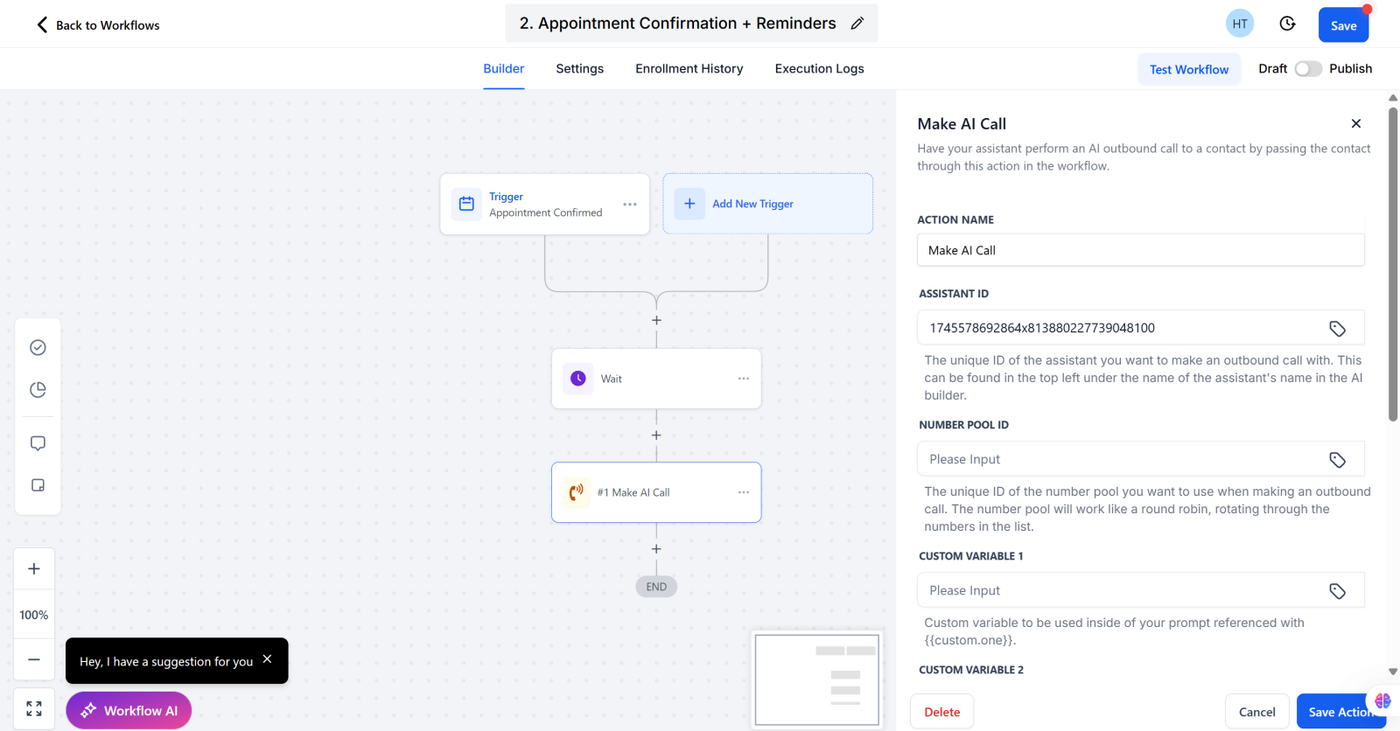
Step 4: Set Up the Workflow in GoHighLevel
-
In GHL, go to Workflows and create a new one for appointment reminders.
-
Set the trigger to: “Appointment scheduled.”
-
Add a Wait step of your choice (e.g., 1 hour before appointment).
-
Add an Assistant Call action and choose your Reminder Assistant.
Step 5: Personalize the Reminder Call
-
Edit your assistant’s script to pull in appointment details.
-
Example: “Hi {{contact.name}}, this is a reminder about your appointment today at {{appointment.time}}.”
-
-
Use GHL custom fields to ensure the time and date are accurate.
Step 6: Test the Reminder Assistant
-
Book a test appointment in GHL.
-
Confirm that your assistant calls the test contact at the correct time.
-
Check logs in Assistable if the call does not go through.
Pro Tips
-
Always test with your own number first before rolling out to clients.
-
Make sure the reminder number is registered in GHL’s Trust Center (Voice Integrity) to avoid compliance errors.
-
If calls fail with error 403, the number must be registered before carriers allow outbound reminders.
What’s Next?
After your Reminder Assistant is live, you can:
-
Add multiple reminders (e.g., 24 hours before, 1 hour before).
-
Combine voice calls with SMS reminders for higher show-up rates.
-
Track results in GHL reporting.