White Label and Brand Your Portal
Background & Purpose
White labeling your portal inside the LeadIndicator platform. It includes instructions for uploading a logo, customizing brand colors, adding a white label domain, and embedding a documentation page. This ensures your portal reflects your own branding across all client-facing touchpoints.
Step-by-Step Instructions
1. Access Your Workspace Dashboard
-
This is your central hub for all branding settings
2. Upload Your Logo
-
Navigate to the Branding tab
-
Click on the logo upload section
-
Upload your logo file (any format or size is accepted)
-
Once uploaded, it will update dynamically across your portal

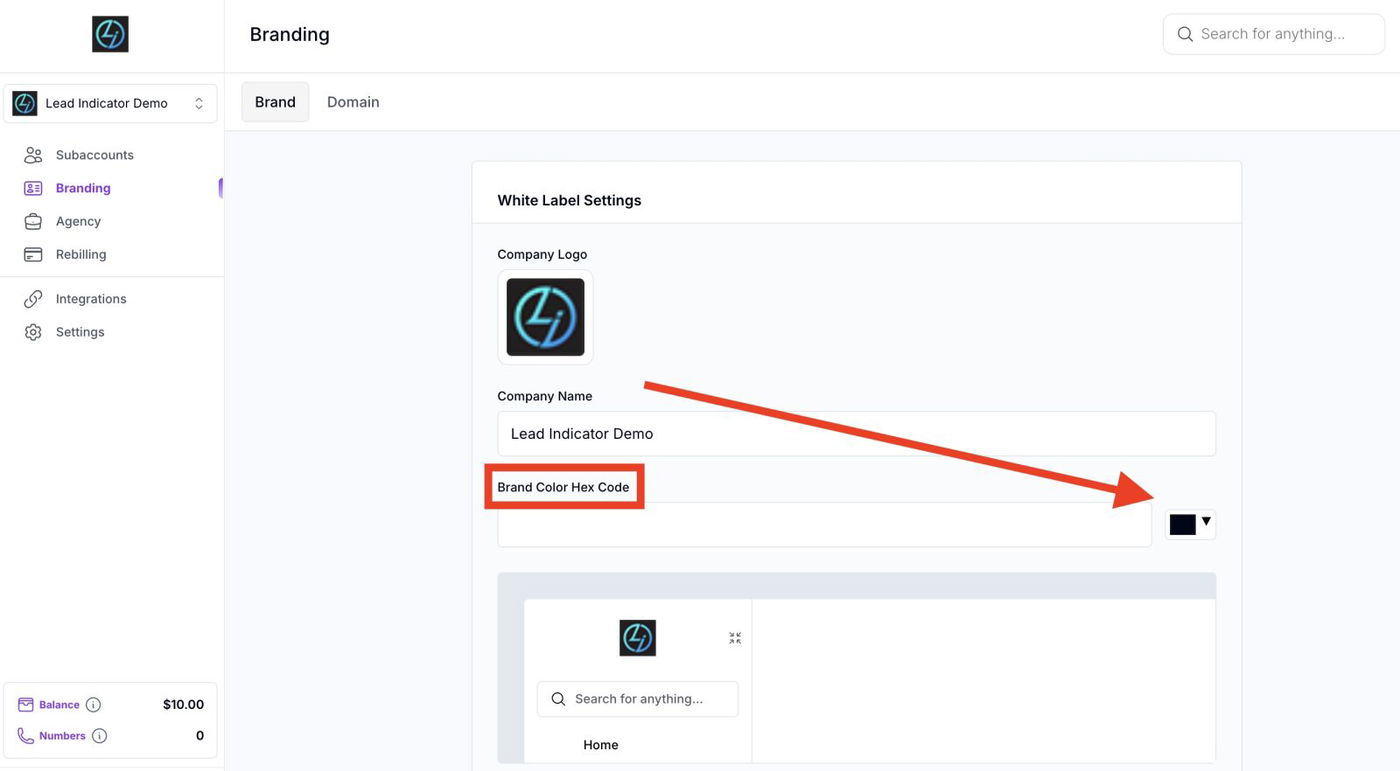
3. Customize Your Brand Colors
-
Still under the Branding tab
-
Choose a new primary brand color (e.g., green)
-
Click Update Branding
-
The new color applies globally across your workspace and sub-accounts
4. Configure Your White Label Domain
-
Still in the Branding tab, scroll to the Domain section
-
Input your custom domain

-
Set the required A Record in your domain provider (e.g.,
72.72.71.71) -
Wait for DNS propagation and confirm the domain is connected
-
Customize:
-
Favicon
-
Page title
-
iFrame embed (e.g., landing pages)
-
5. Add Documentation URL (Optional)
-
In the Branding tab, find the hidden option for documentation
-
Paste the link to your documentation page
-
Click Update Branding
-
Sub-accounts will now see a new "Docs" button that links to this page
FAQs
Q: What file types are supported for logos?
A: PNG, JPEG, GIF — any image format.
Q: Do I need a specific logo size?
A: No, any size works. Square is recommended but not required.
Q: Can I embed a landing page?
A: Yes, you can use an iframe to embed custom landing pages.
Q: Is the documentation button visible to all users?
A: Only if a URL is provided — then it appears in the sub-account view.